Blackheads, plugs and breakouts are all symptoms of clogged pores. Skin treatments can be expensive, and pore strips are no different. If you are plagued with this problem there is a homemade solution that will help. You can easily and inexpensively make your own pore strips at home. Each person will experience their own amount of affectivity using this method as everyone’s skin is different.
When pores excrete sebum and that blends or combines with skins toxins, dead cells, dirt, make up or grime then there we have it…clogged pores. Pore strips are the answer to remove this matter from your pores before it becomes a bigger or more unsightly problem.
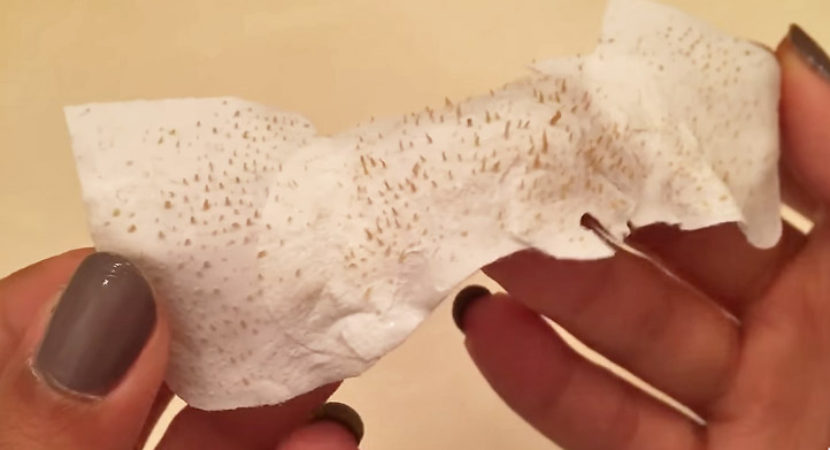
The method here is a homemade ingredient that peels away once dried (usually around 15 minutes). Those hairs that you see in the strip you just made are not really hairs! That is actually the dead skin cells and sebum that was clogging those pores.
How do I Make my Own Pore Strips at Home?
The concept is simple. Use something that has a bonding agent, apply it then apply material over it and let it dry. No matter what the department store pore strips promise the results and the concept is all basically the same. Your homemade concoction will work just as well, and when followed by a good toner your face will really look and feel great, so let’s get started.
Supplies and Ingredients
- TAB SP Knox gelatin (vegetable based alternative is called Agar Agar if vegan)
- TAB SP Milk (or water if you are vegan)
- Bowl that is microwave safe
- A Tablespoon
- A tool that you can use for the application (like a spatula)… why not?
- You do not need a cloth covering for this method
Alright, now that all of the materials are gathered you will also want to bring a freshly washed clean and dry face to the occasion. Go ahead and mix the milk, gelatin and put it in the microwave for 10 seconds. Still it until it is smooth. Make sure it is not too hot before applying it to your face.
This will yield enough to cover your whole face, but start applying it in the T zone where you have the most clogged pore possibilities. You want it to dry evenly and all around the same time so apply it strategically. You won’t want an audience at this point least you end up on YouTube, because it is not a pretty process.
Let it dry. You will actually feel your face begin to tighten. It could take up to 30 to 45 minutes, but the thing is to make sure it is totally dry and holding on to the gunk clogging your pores, so get a good book or start your favorite movie. When it is dry peel it off. It will be similar to peeling Band-Aid off so this recipe packs some peeling power and it is a lot cheaper than the in store pore strips!
